photoshop合成雪中女王
2022-12-25 21:45:12
來源/作者: /
己有:44人學習過
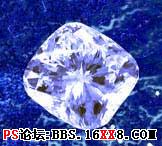
Erase the diamond's background (Polygonal Lasso Tool) and increase the stone's contrast (Curves). Give it a blue nuance also (Photo Filter)
使用多邊形套索將鉆石摳出來,增加對比度(圖像-調整-曲線),并將鉆石色調也調整為藍色(圖像-調整-照片濾鏡)。
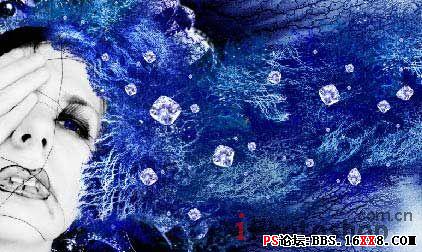
Copy now many times this layer and place the diamonds on the air's surface, changing their size with Edit Free Transform (ctrl+t)
將鉆石多復制幾份,沿著MM的假發凌亂放置,并使用編輯-自由變換改變一些鉆石的大小,讓它們看起來各不相同:)
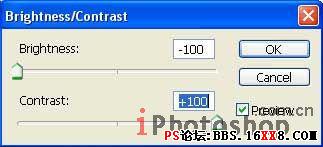
Add the shadows by copying the stones' layer and make them of black color: Image -Adjustments -Brightness/Contrast
復制鉆石層,將新層的鉆石變為黑色(圖像-調整-亮度/對比度),添加陰影效果。
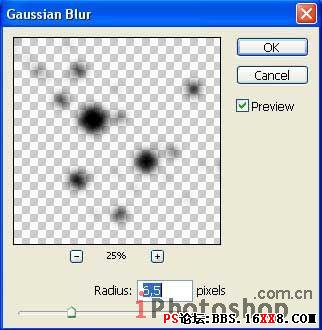
Place the indicated layer lower than the basic stones' layer and blur it out with Filter -Blur -Gaussian Blur.
黑色層點擊濾鏡-模糊-高斯模糊,如下設置,模糊后的圖片放到原始鉆石層下方。
標簽(TAG) 照片合成
上一篇:利用相關素材制作鬼魅效果
下一篇:噴濺效果,制作噴濺效果的人像
相關推薦

簡易畫貓頭鷹的步驟 畫貓頭鷹的簡

幼兒簡筆畫烏鴉的畫法 教你如何畫

如何簡單的畫一條魚 5步畫魚簡筆畫

ps cs6做鉚釘效果文字

如何用PS把渾濁的風景照片調出通透清晰

PS商業修圖師對人物頭發進行精修教程

如何用PS打造出明亮而有神的眼睛效果

PS商業修圖給人像增強光影質感的方法介紹


